Ah, the great outdoors – the allure of nature, the scent of pine trees, and the crisp morning air. There’s something truly magical about waking up at a campsite. But for many of us, the outdoor adventure isn’t complete without that perfect cup of coffee to kickstart the day. Imagine sipping a hot, flavorful brew surrounded by nature’s beauty. It’s not just comforting; it’s essential for many campers.
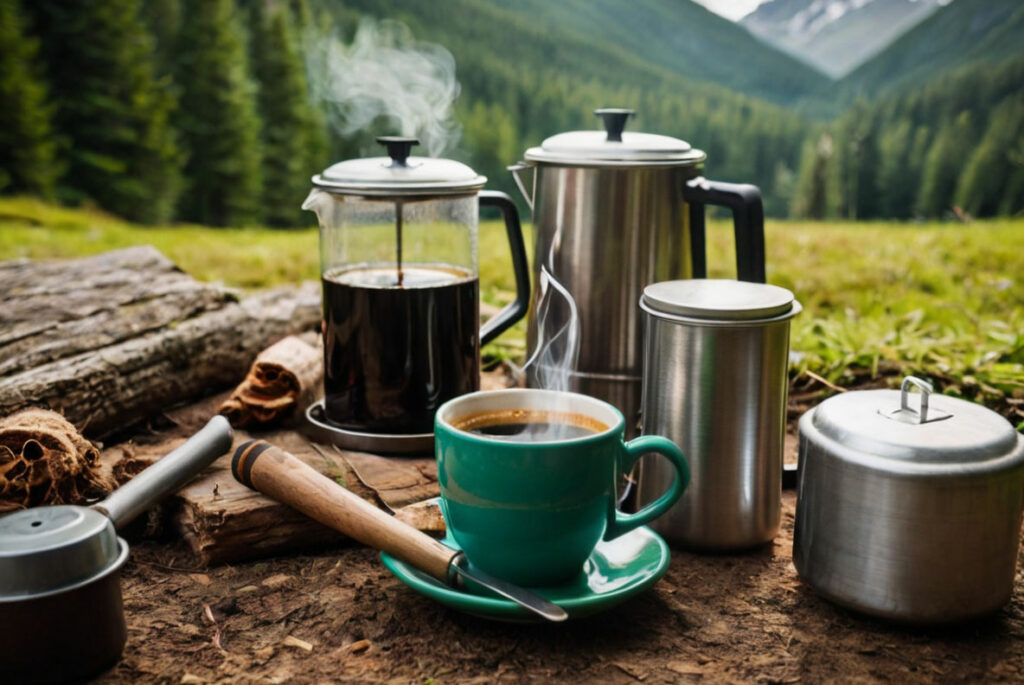
This article explores the top 5 campsite coffee brewing methods to ensure your next adventure is filled with delicious, refreshing coffee. Whether you’re a coffee lover or a camping newbie, these methods will help you enjoy a great cup of coffee in the wild.
Method 1: French Press
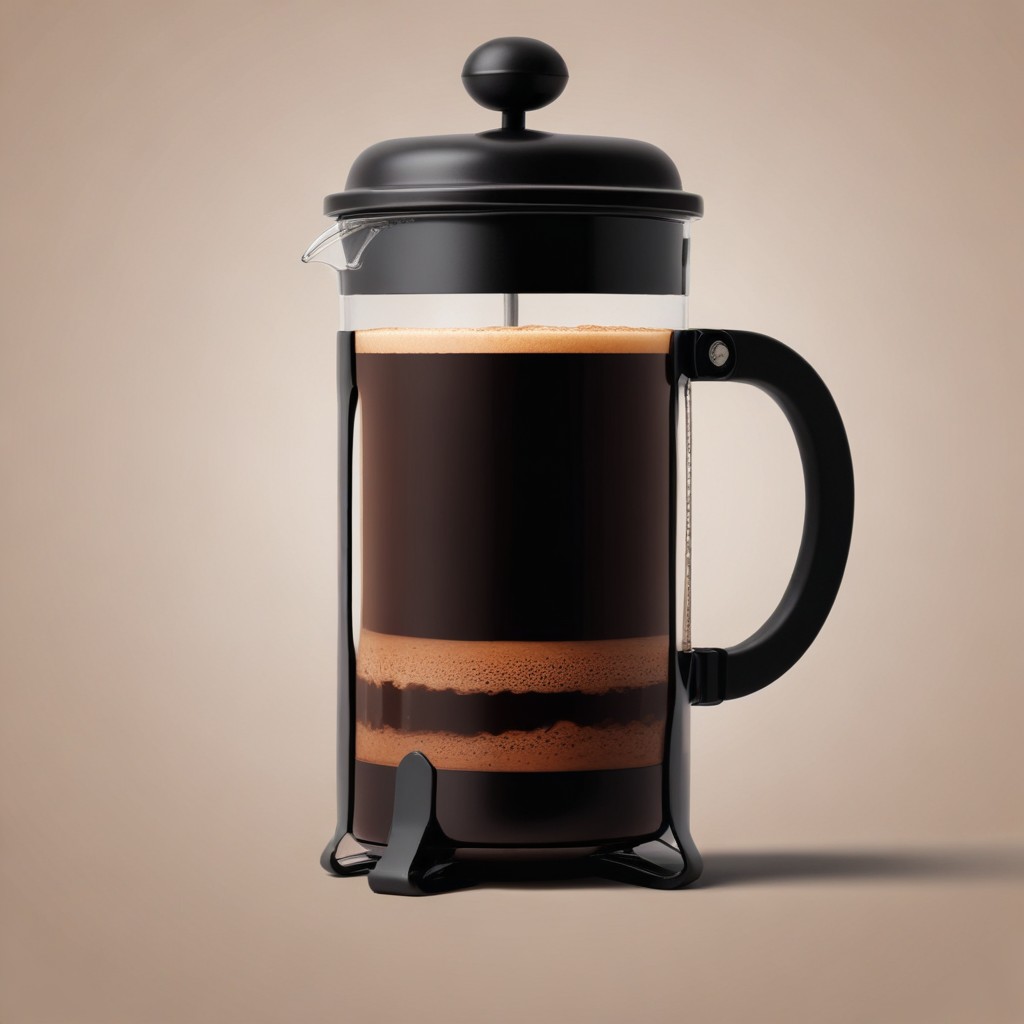
The French Press is a classic coffee brewing method that has stood the test of time. Known for its simplicity and ability to produce a robust, full-bodied coffee, it’s a favorite among many.
Why It’s Great for Camping
- Durability: Many French Presses are made from durable materials like stainless steel and BPA-free plastic, making them great for the rugged outdoors.
- Ease of Use: Just add coffee grounds and hot water, wait a few minutes, and press. Minimal components mean less hassle.
- Versatility: It can make more than just coffee — think tea or even hot chocolate.
How to Brew Using a French Press
- Boil Water: Heat about 8 ounces of water per cup of coffee.
- Prep Grounds: Add coarse coffee grounds to the French Press. A good rule of thumb is one tablespoon of coffee per 6 ounces of water.
- Combine: Pour the hot water over the coffee grounds.
- Stir: Give it a good stir with a wooden or plastic spoon to mix the grounds with the water.
- Brew: Let it sit for about 4 minutes.
- Press: Slowly press the plunger down to separate the grounds from the liquid.
- Serve: Pour your freshly brewed coffee into your camping mug and enjoy!
Pros and Cons
- Pros: Rich and full-bodied coffee, durable, easy to use
- Cons: Takes up more space, requires cleaning
Method 2: Pour-Over
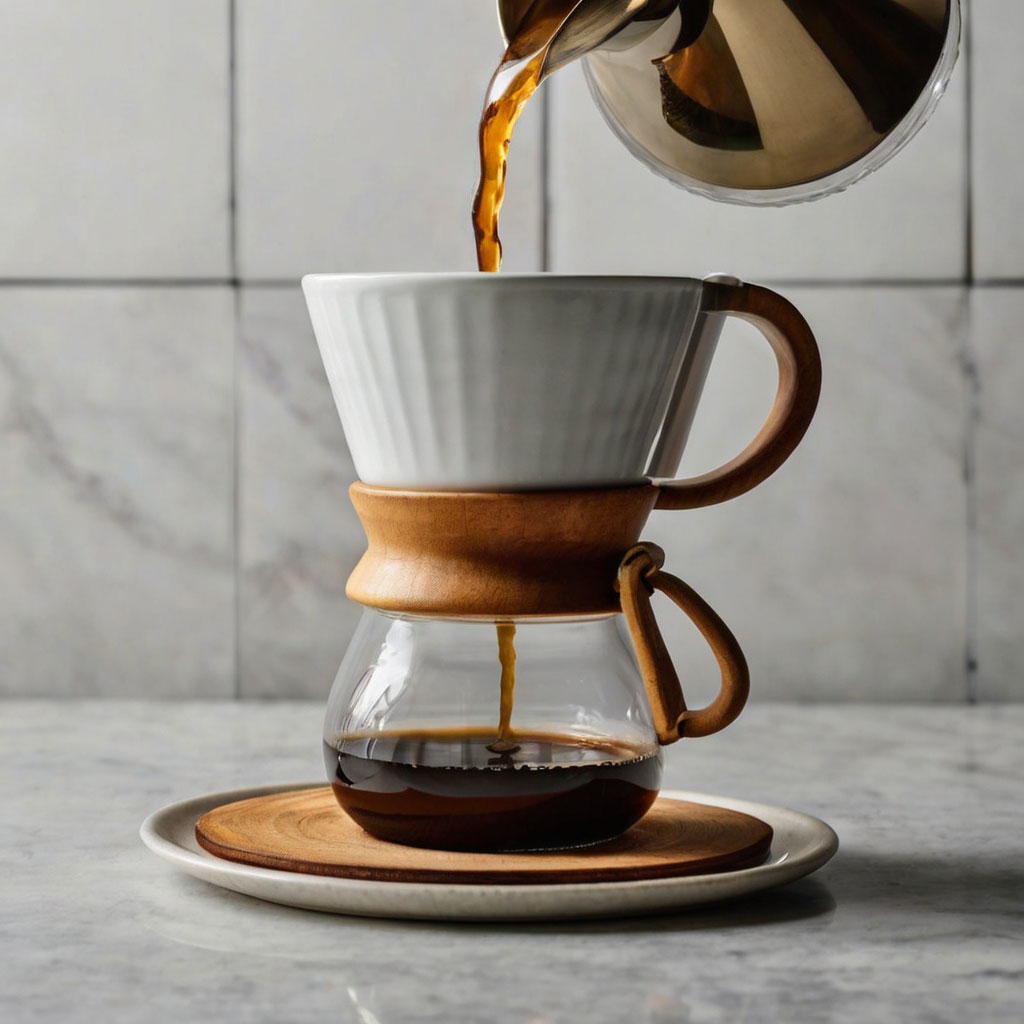
The pour-over method has been gaining traction among coffee lovers for its ability to produce a clean and flavorful cup of coffee. It involves manually pouring water over coffee grounds.
Why It’s Great for Camping
- Lightweight and Compact: Most pour-over devices are small and easy to pack.
- Control: Allows you to control the brewing variables like water temperature and pouring speed, leading to a customized cup.
- Eco-Friendly: With the use of a reusable filter, it reduces waste.
How to Brew Using a Pour-Over
- Boil Water: Heat your water to around 200°F.
- Prep Grounds: Use medium-fine coffee grounds. A ratio of 1:15 coffee to water works well.
- Set Up Device: Place your pour-over device (like a V60 or Chemex) over your coffee mug.
- Add Grounds: Put the coffee grounds into the filter.
- Bloom: Pour a small amount of water over the grounds to let them bloom (release gases), usually for about 30 seconds.
- Pour: Continue pouring the hot water slowly in a circular motion, ensuring all grounds are evenly saturated.
- Finish: Allow the water to fully drain through the grounds.
- Serve: Enjoy your freshly brewed coffee right from your favorite mug.
Pros and Cons
- Pros: Lightweight, customizable, produces a clean cup of coffee
- Cons: Requires some technique and patience, more components to clean
Method 3: AeroPress
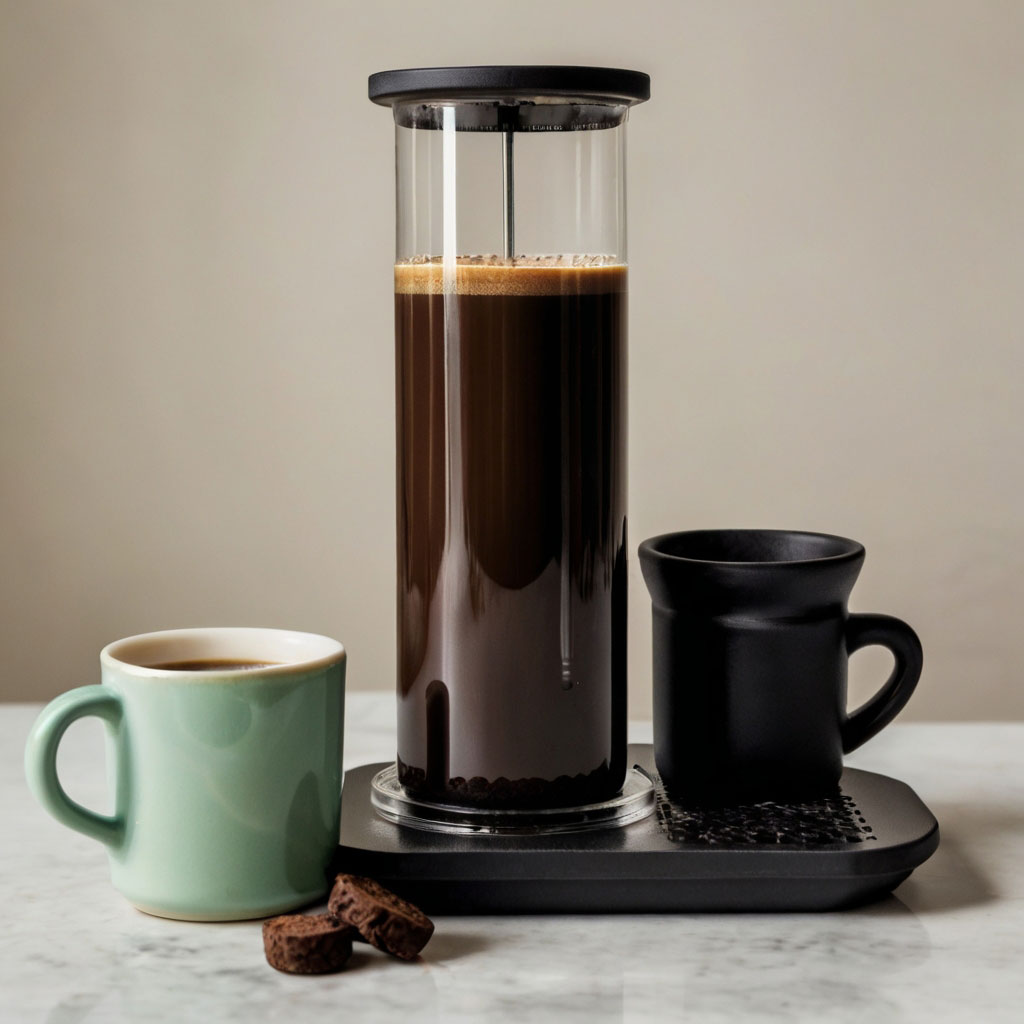
The AeroPress is a versatile and innovative brewing device that’s perfect for camping. It uses air pressure to push the water through the coffee grounds, resulting in a smooth, rich brew.
Why It’s Great for Camping
- Compact and Portable: Lightweight and convenient to carry.
- Quick Brew Time: Can brew coffee in about a minute.
- Versatile: Can make American-style coffee, espresso, and even cold brew.
How to Brew Using an AeroPress
- Boil Water: Bring your water to around 175°F-195°F.
- Prep Grounds: Use fine coffee grounds, about one scoop for a single serving.
- Assemble AeroPress: Place a paper filter into the AeroPress cap and rinse it with hot water. Then, attach the cap to the chamber.
- Add Grounds: Add the coffee grounds to the AeroPress chamber.
- Pour Water: Pour hot water over the coffee grounds up to the marked line.
- Stir: Stir the mixture for about 10 seconds to ensure even saturation.
- Plunge: Attach the plunger and press down slowly, using steady pressure to push the brewed coffee through the filter.
- Serve: Enjoy your perfectly brewed coffee straight from your camp mug.
Pros and Cons
- Pros: Fast, compact, easy to clean, versatile
- Cons: Requires a bit of technique, uses disposable filters
Method 4: Moka Pot
The Moka Pot, also known as a stovetop espresso maker, brews coffee by passing boiling water pressurized by steam through ground coffee.
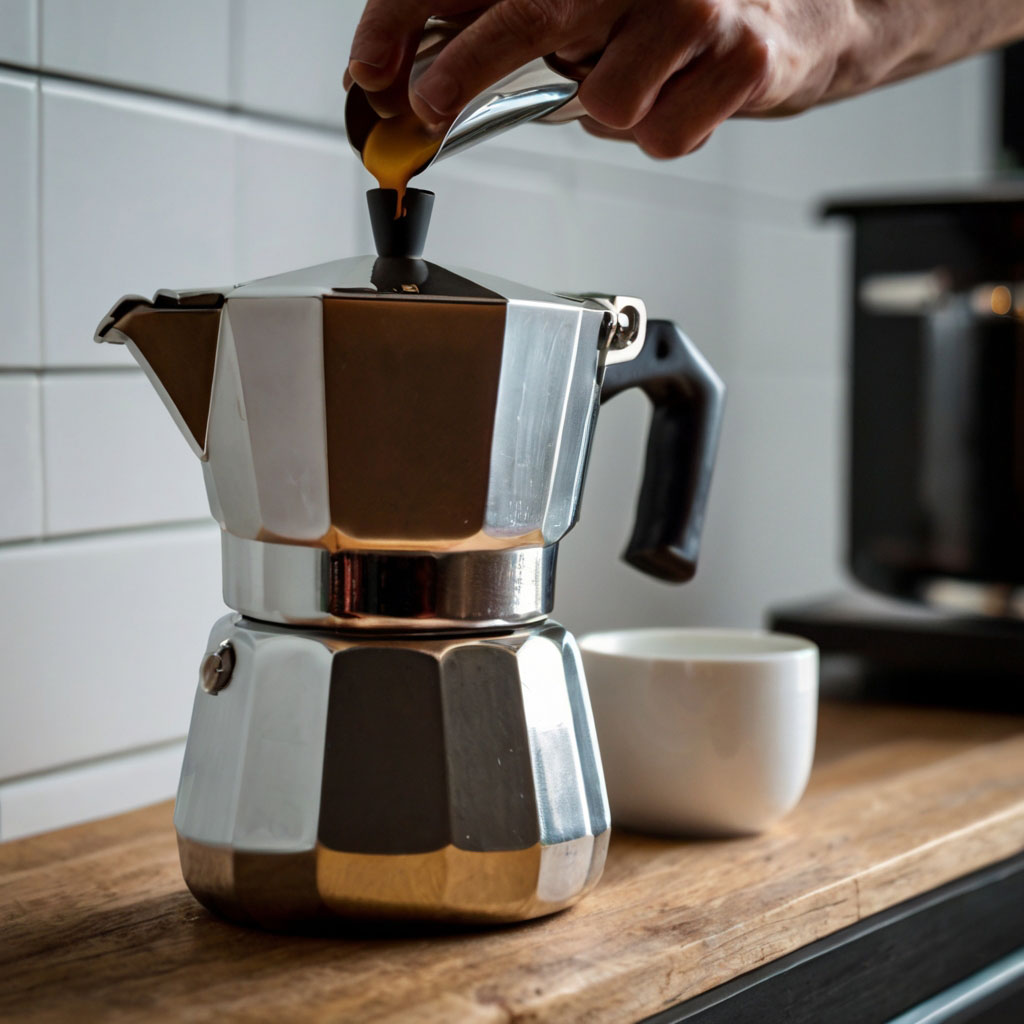
Why It’s Great for Camping
- Durable: Made of sturdy aluminum or stainless steel, ideal for outdoor conditions.
- Rich Flavor: Produces a strong, espresso-like coffee.
- Consistent Results: Once you get the technique down, it consistently brews excellent coffee.
How to Brew Using a Moka Pot
- Boil Water: Pre-boil your water to speed up the process.
- Prep Grounds: Use finely ground coffee, similar to espresso.
- Fill the Bottom Chamber: Pour the hot water into the bottom chamber up to the safety valve.
- Add Grounds: Fill the filter basket with coffee grounds and level it off; do not tamp down.
- Assemble Pot: Screw the top and bottom parts of the Moka Pot together securely.
- Heat: Place the Moka Pot on a camping stove or portable burner over medium heat.
- Brew: Wait for the coffee to start percolating into the upper chamber. You’ll know it’s done when you hear a hissing or bubbling sound.
- Serve: Pour your rich, flavorful coffee into your mug and enjoy.
Pros and Cons
- Pros: Strong and robust coffee, durable, compact
- Cons: Heavier compared to other methods, needs a heat source, a bit more cleanup
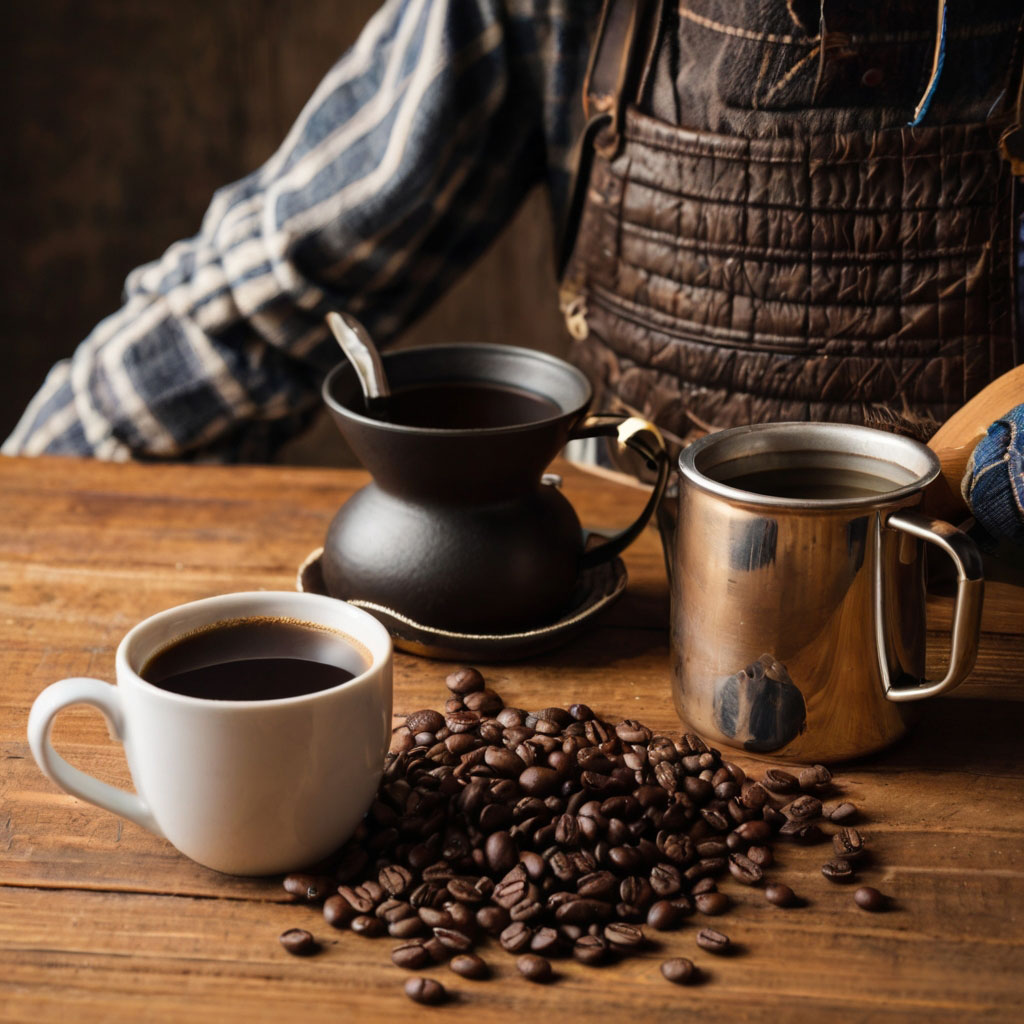
Method 5: Cowboy Coffee
Cowboy coffee is the simplest and perhaps the most traditional method of brewing coffee while camping. It involves boiling coffee grounds directly in water and letting them settle before drinking.
Why It’s Great for Camping
- Minimal Equipment: Requires just a pot and a heat source.
- Authentic Experience: Offers a rustic and authentic camping experience.
- Easy to Make: Simple and straightforward, no special equipment needed.
How to Brew Cowboy Coffee
- Boil Water: Fill a pot with water and bring it to a rolling boil.
- Add Grounds: Once boiling, remove the pot from the heat and let it cool for about 30 seconds to allow the water temperature to drop slightly. Add ground coffee (about 2 tablespoons per 8 ounces of water).
- Stir: Stir the mixture thoroughly to ensure the grounds are evenly dispersed.
- Let Sit: Let the coffee steep for about 3-5 minutes.
- Settle Grounds: To settle the coffee grounds to the bottom, you can either tap the side of the pot or add a small splash of cold water.
- Pour Slowly: Carefully pour the coffee into your mug, avoiding the settled grounds at the bottom of the pot.
- Serve: Enjoy your robust and full-bodied cowboy coffee in the great outdoors.
Pros and Cons
- Pros: Very simple, minimal equipment, authentic experience
- Cons: Grounds can be challenging to manage, not as refined as other methods
Conclusion
Brewing coffee while camping doesn’t have to be complicated or lackluster. Whether you’re a coffee lover or someone who just needs that morning jolt to start the day, there’s a camping coffee brewing method that’s perfect for you.
From the rich and robust flavors of the French Press and Moka Pot to the clean and smooth results of the pour-over and AeroPress, and even the rustic charm of cowboy coffee, there’s a method to suit every taste and camping style.
As you prepare for your next adventure, consider these five campsite coffee brewing methods to elevate your outdoor coffee experience. So, pack your favorite brewing gear, some quality coffee beans, and head out into nature knowing that a perfect cup of coffee is just a few steps away.
😊Happy camping and happy brewing!🍵


GIPHY App Key not set. Please check settings